Basements have evolved from dark storage areas to fully functional living spaces; think theaters, gyms, home offices and bars. A finished ceiling plays a huge role in how inviting that space feels. The right ceiling hides plumbing and wires, reduces noise, helps with moisture control, and ties the room together. This guide explains ten distinct basement ceiling ideas with real photos, notes on cost, and details on when each option makes sense. You’ll also find a cost table, common pitfalls to avoid, a simple installation plan, and questions to ask potential contractors.
What counts as a finished basement ceiling?
A finished ceiling covers or treats the exposed joists and mechanical systems in a basement. Options range from painting beams to installing drywall, drop‑in grids, wooden planks, metal tiles, PVC panels or fabric. If you intend to use the basement as living space, most U.S. building codes require proper ceiling height (often 7 feet or more), emergency exits, and ventilation. Moisture control is essential; basements often need dehumidifiers, vapor barriers, or waterproof membranes before finishing the ceiling.
10 basement ceiling ideas (with photos)
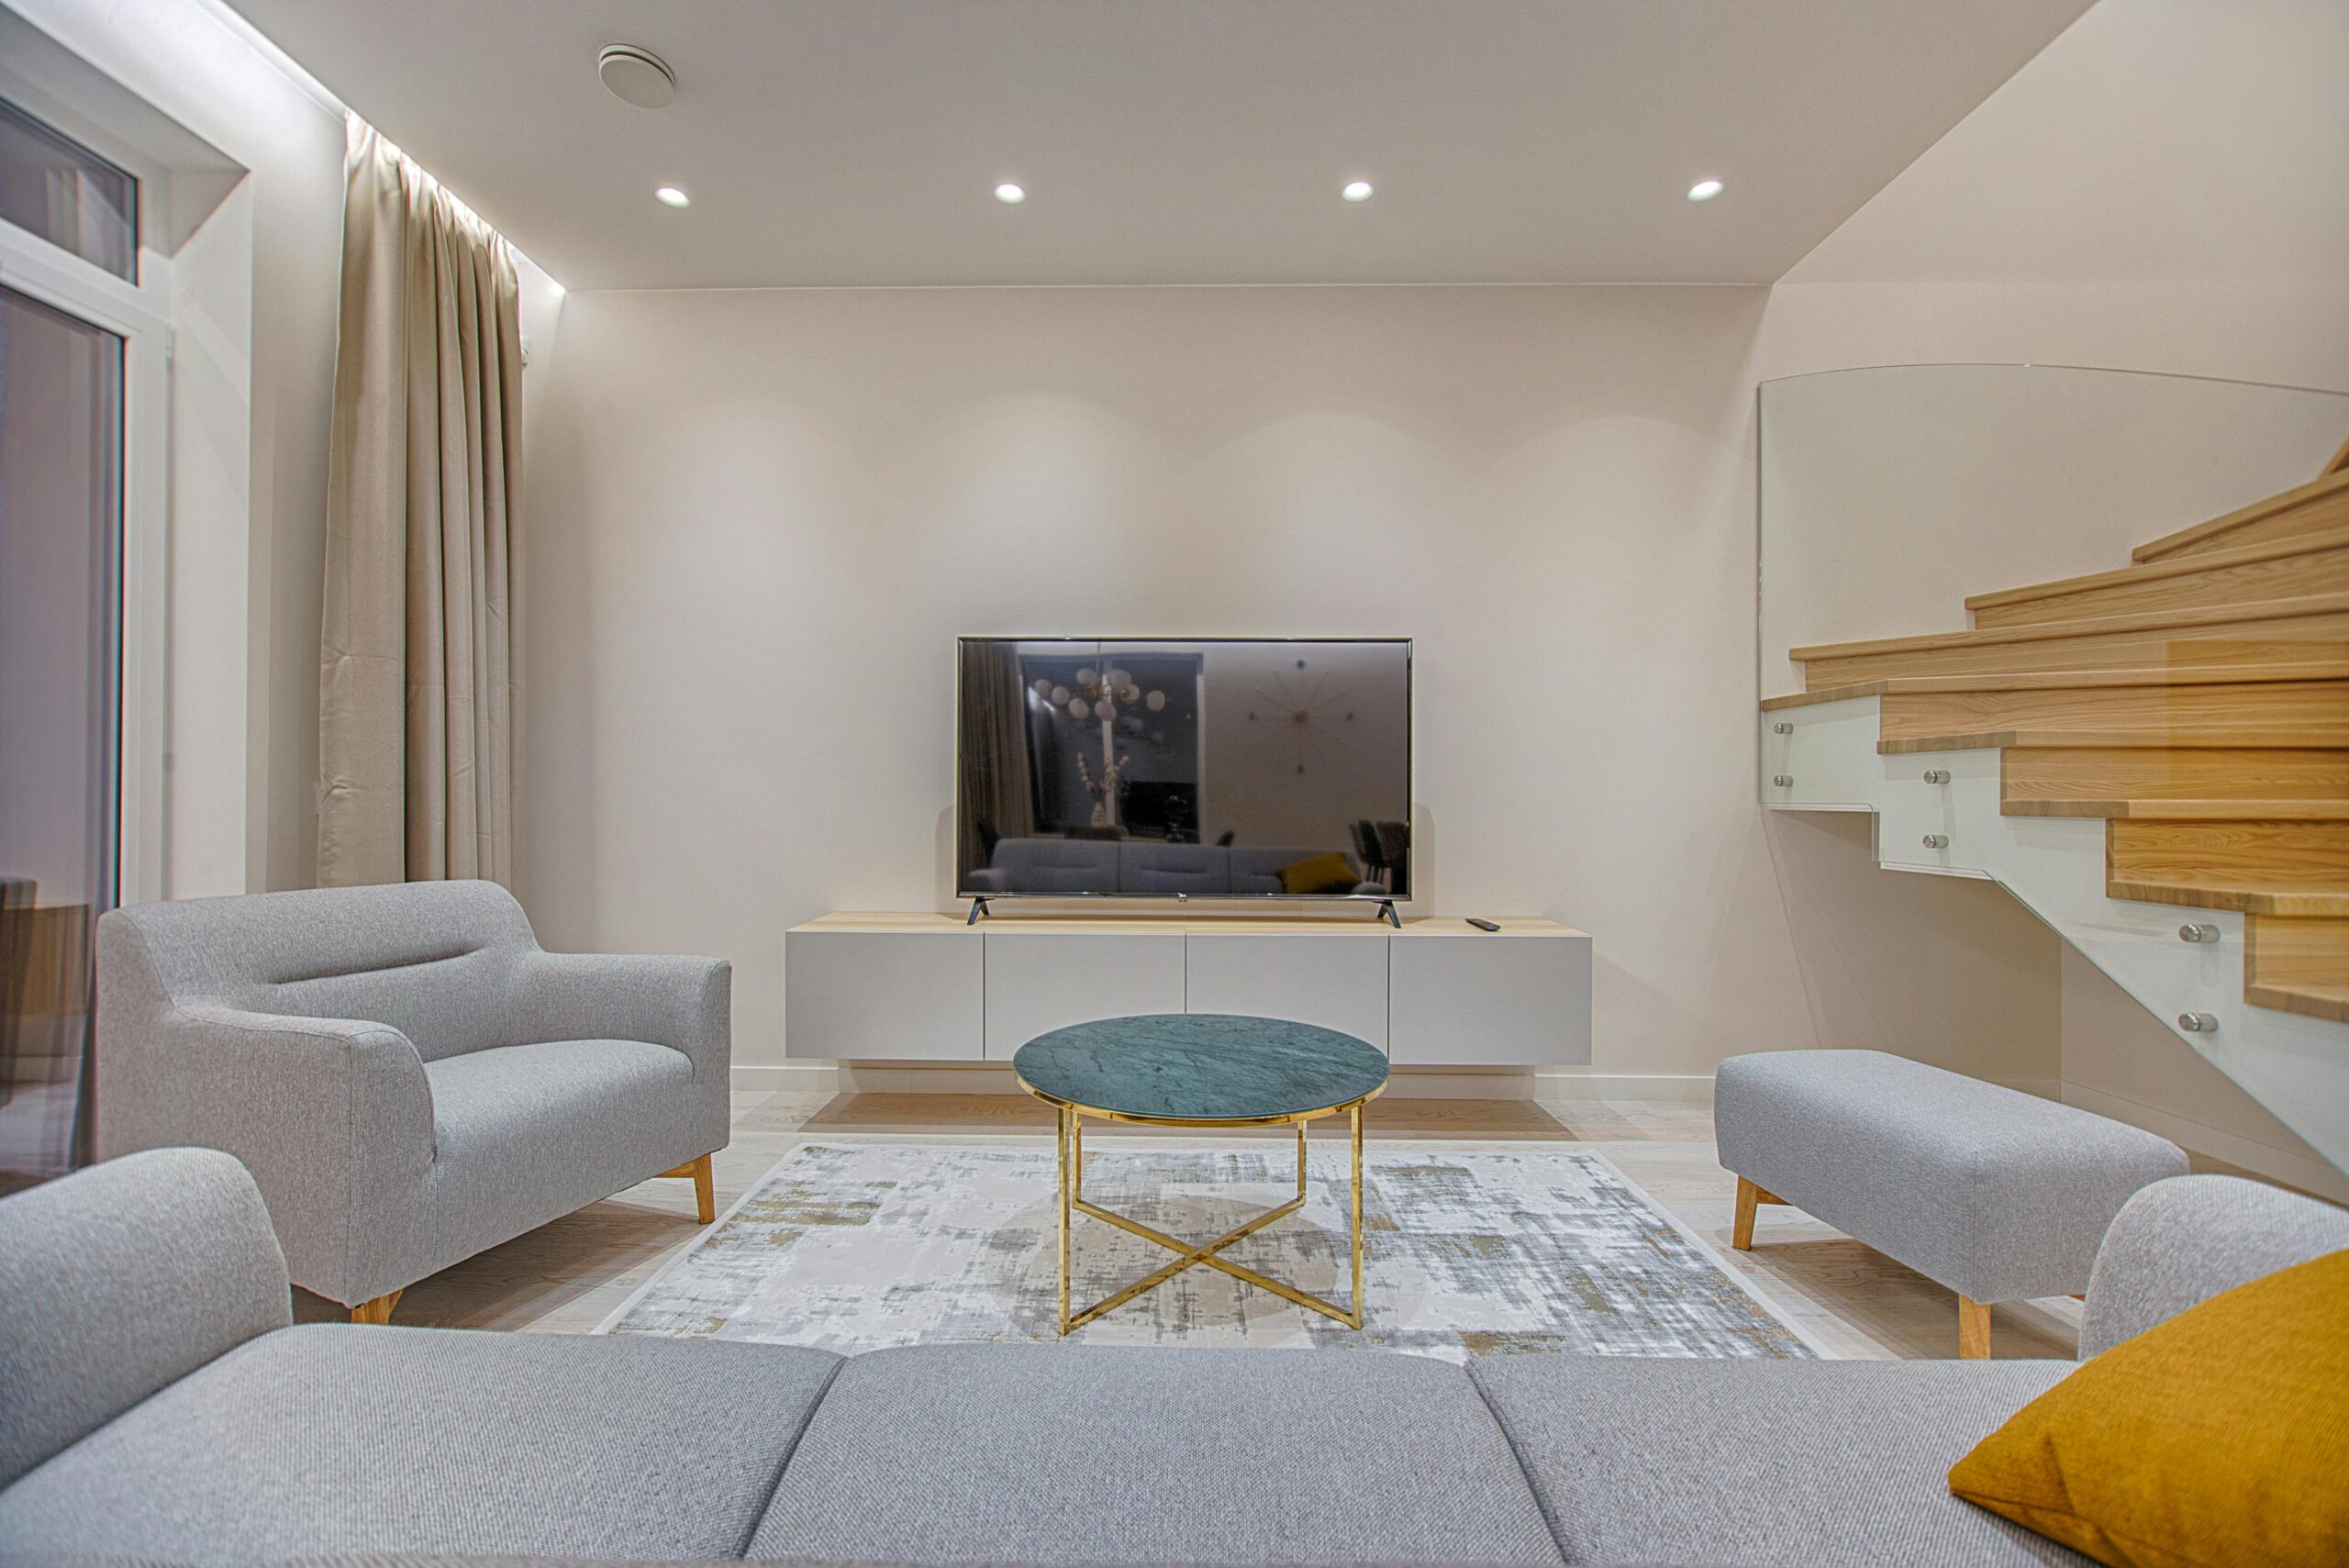
1. Painted Exposed Joists (White)

Why it works: Keeping joists and pipes exposed preserves headroom and makes it easy to access plumbing and wiring later. Painting everything a crisp white hides mismatched lumber and reflects light , making the space feel larger. It’s an affordable option that suits modern farmhouses or coastal styles.
Specs & cost: Clean and vacuum thoroughly, seal knots with shellac, then roll or spray a quality primer and a flat or satin ceiling paint. Plan to spend $1–$2 per square foot for paint and primer. Prep work is a big part of the labor—masking, cleaning and spraying beams, pipes and ductwork evenly.
Considerations: Exposed ceilings don’t conceal noise or drafts. Leave electrical junction boxes and connections accessible and clearly marked.
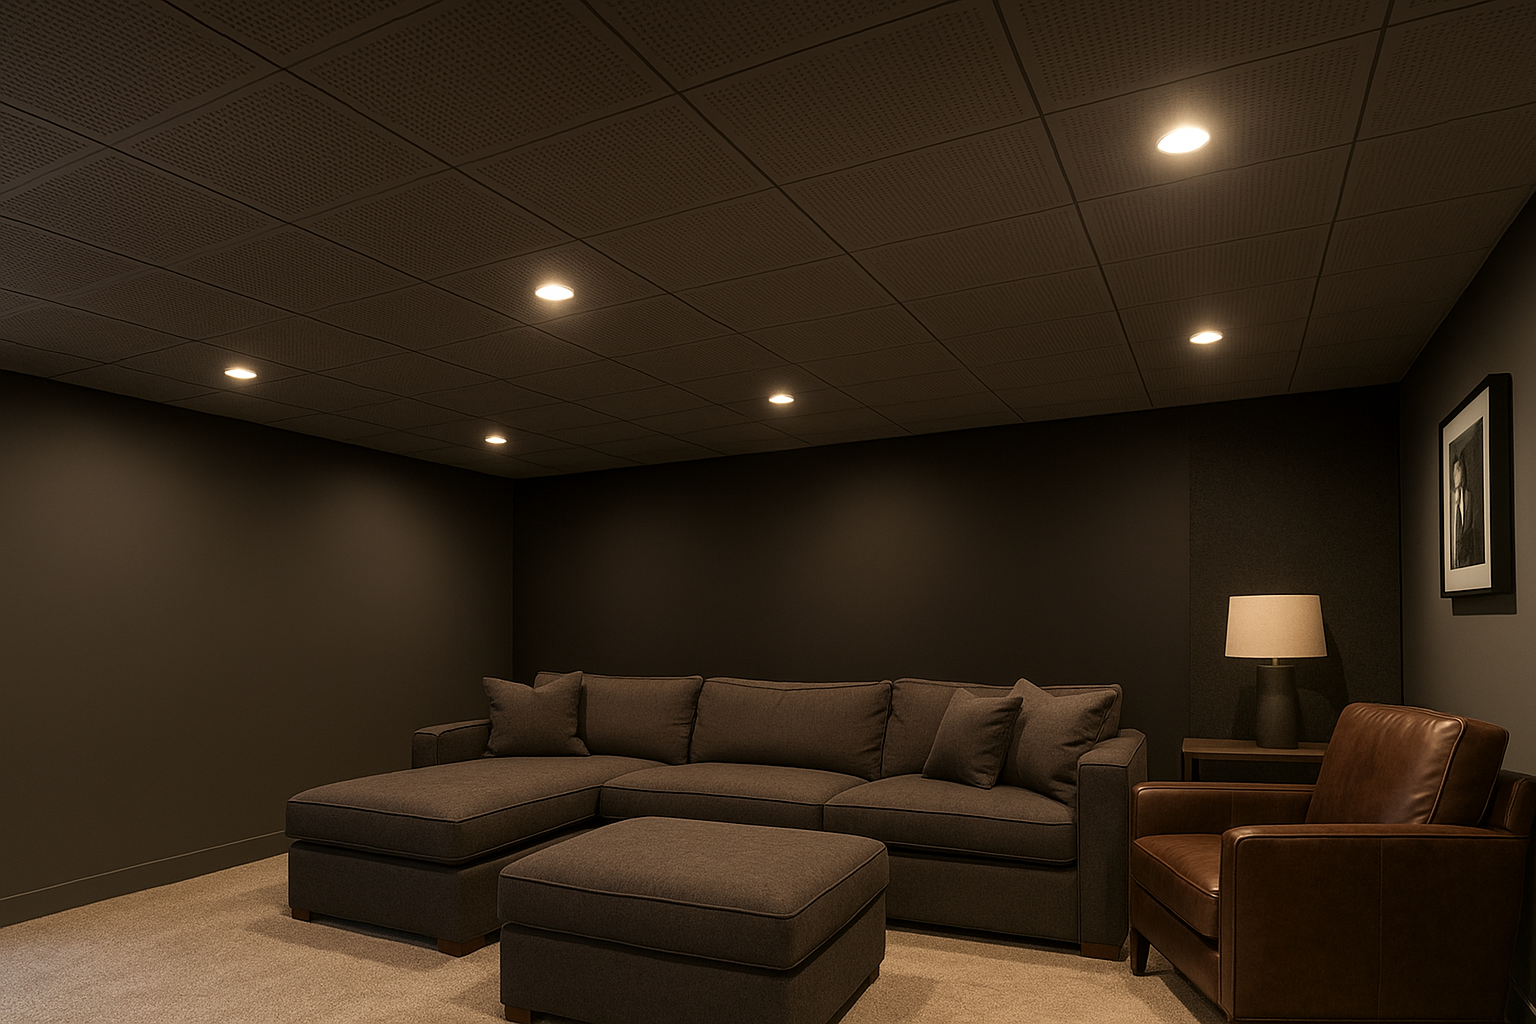
2. Dark Exposed Ceiling (Industrial Loft)
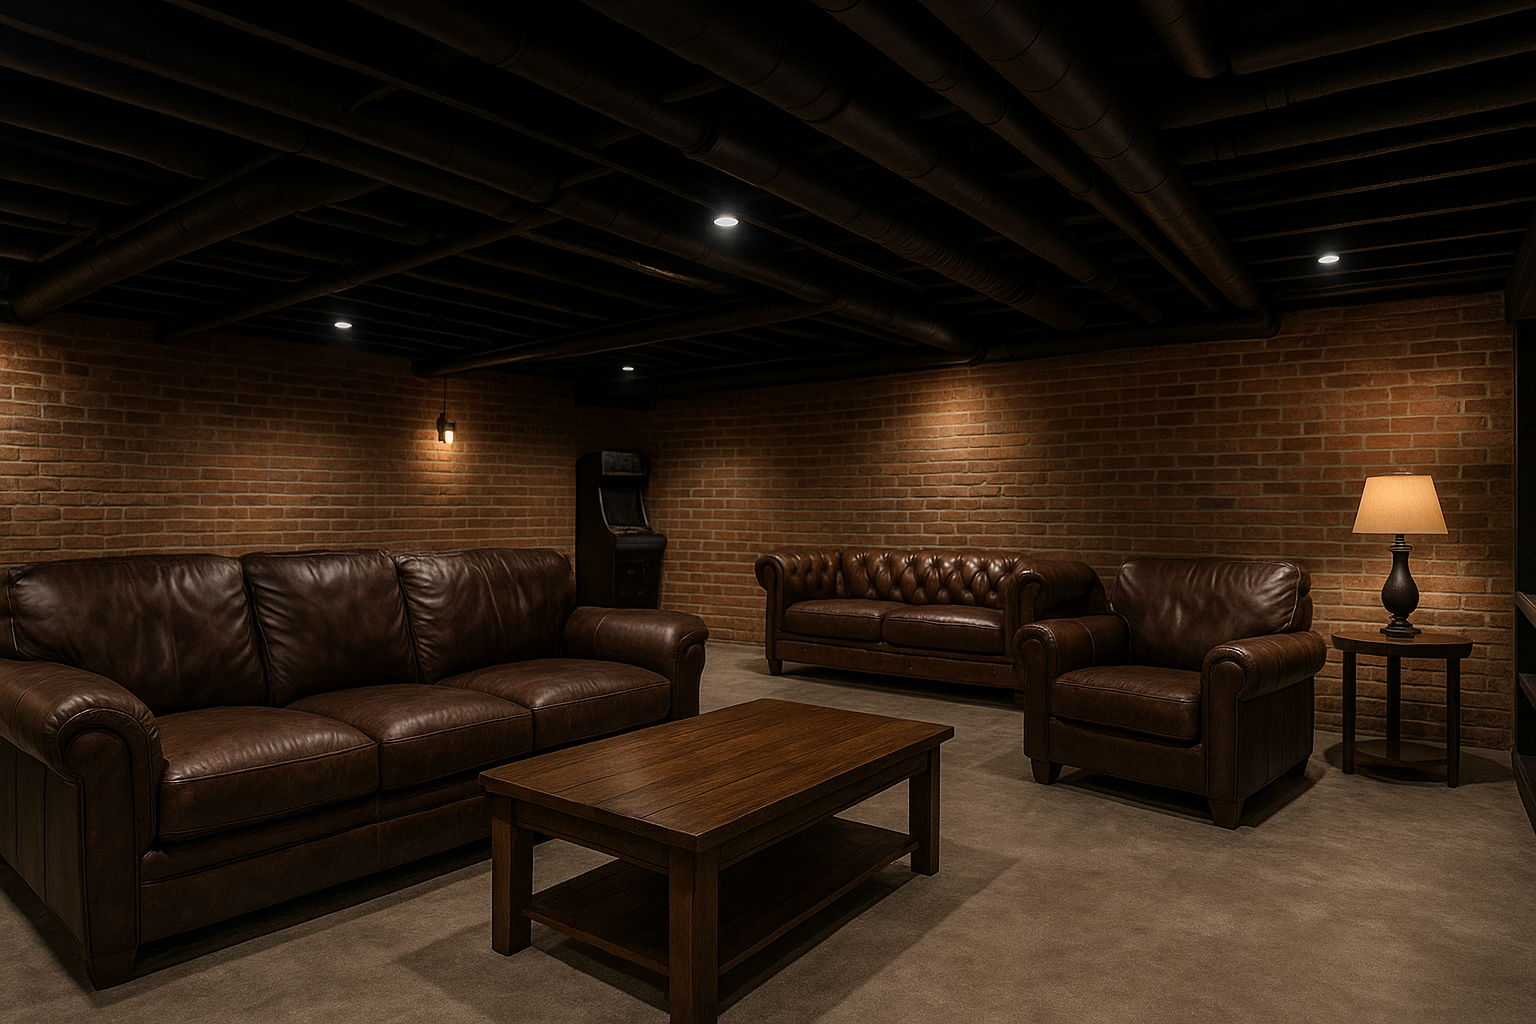
Why it works: A matte black or charcoal ceiling creates drama and hides imperfections. Dark paint camouflages ducts, wires and pipes so they blend into the background, letting furnishings stand out. This style pairs well with brick or stone walls, leather seating, and metal accents.
Specs & cost: Use matte or eggshell latex paint suitable for wood and metal. Mask walls carefully. Because dark colors often require two coats, budget about $1–$3 per square foot.
Considerations: Lighting becomes more important. Combine recessed cans with wall sconces or pendant lights to avoid a cave‑like feel. Dark ceilings can make a space feel smaller, so ensure you have adequate natural and artificial light.
3. Rustic Wood Planks or Shiplap
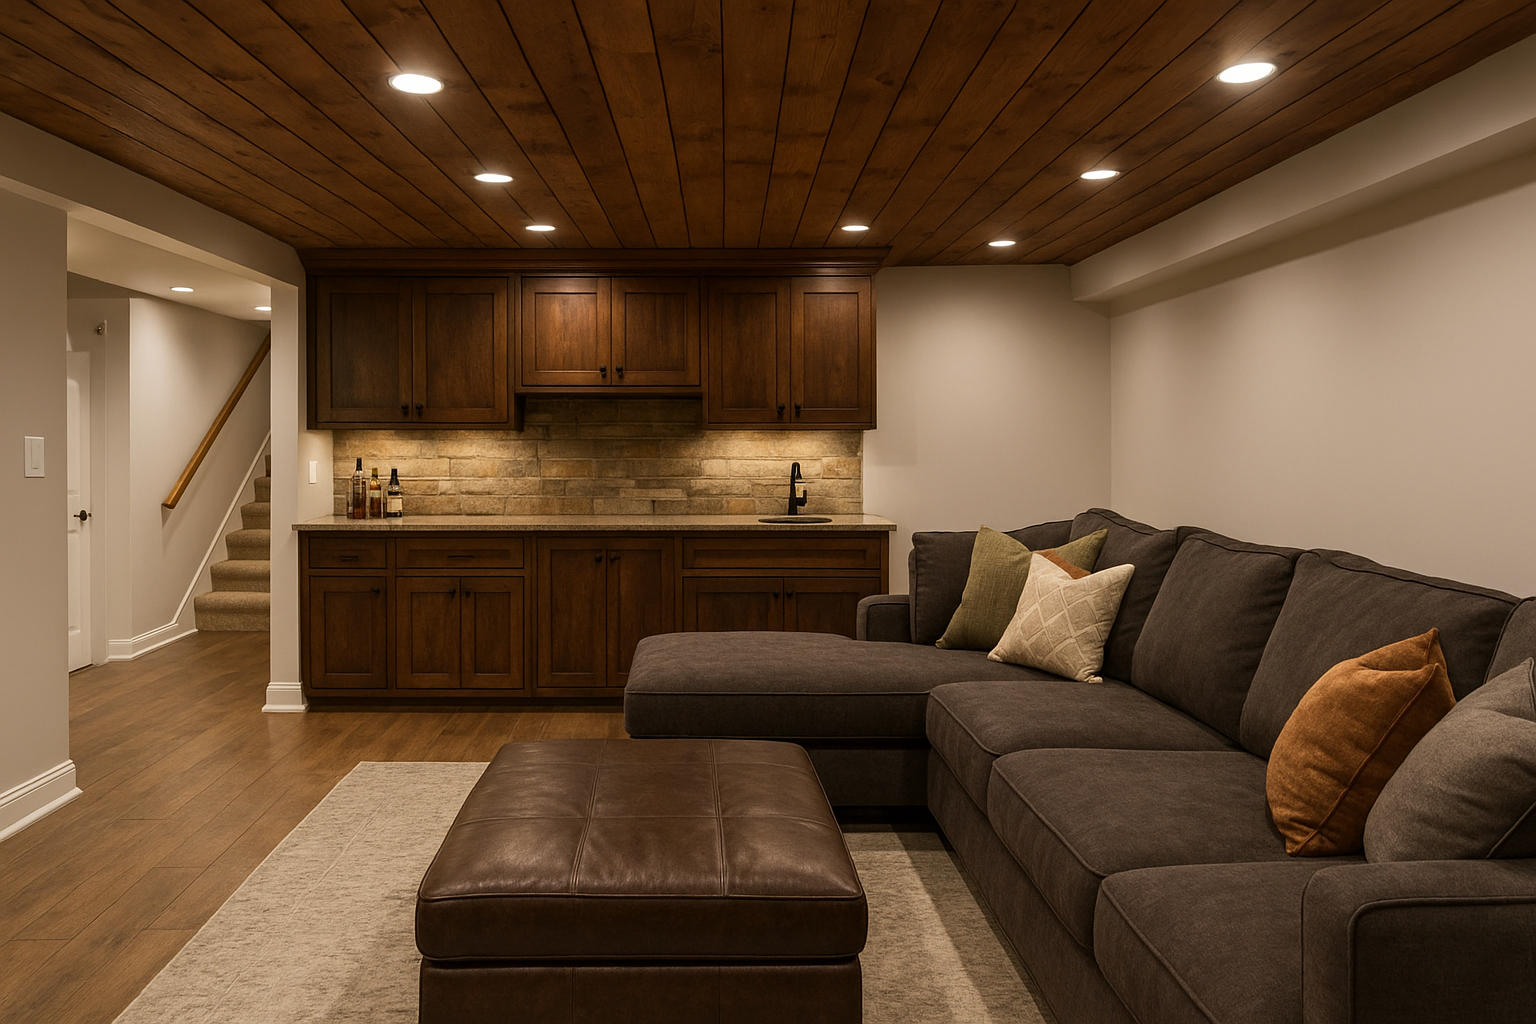
Why it works: Wood adds warmth and texture to a basement. Tongue‑and‑groove boards, beadboard planks, or shiplap can be installed directly onto joists if you have enough headroom. Natural pine, cedar or reclaimed barn wood gives a rustic feel, while painted boards suit cottage or coastal looks.
Specs & cost: Boards range from 3 to 8 inches wide. Costs vary by wood species: pine ($1–$4 per linear foot), cedar ($2–$6), reclaimed barn wood ($5+). Nail them to furring strips, adding a vapor barrier if needed. Finish with stain or paint and clear sealer.
Considerations: Wood expands and contracts with humidity; leave expansion gaps and acclimate boards before installation. Seal or paint both sides of boards for longevity. Recessed lights must have proper clearance to avoid overheating boards.
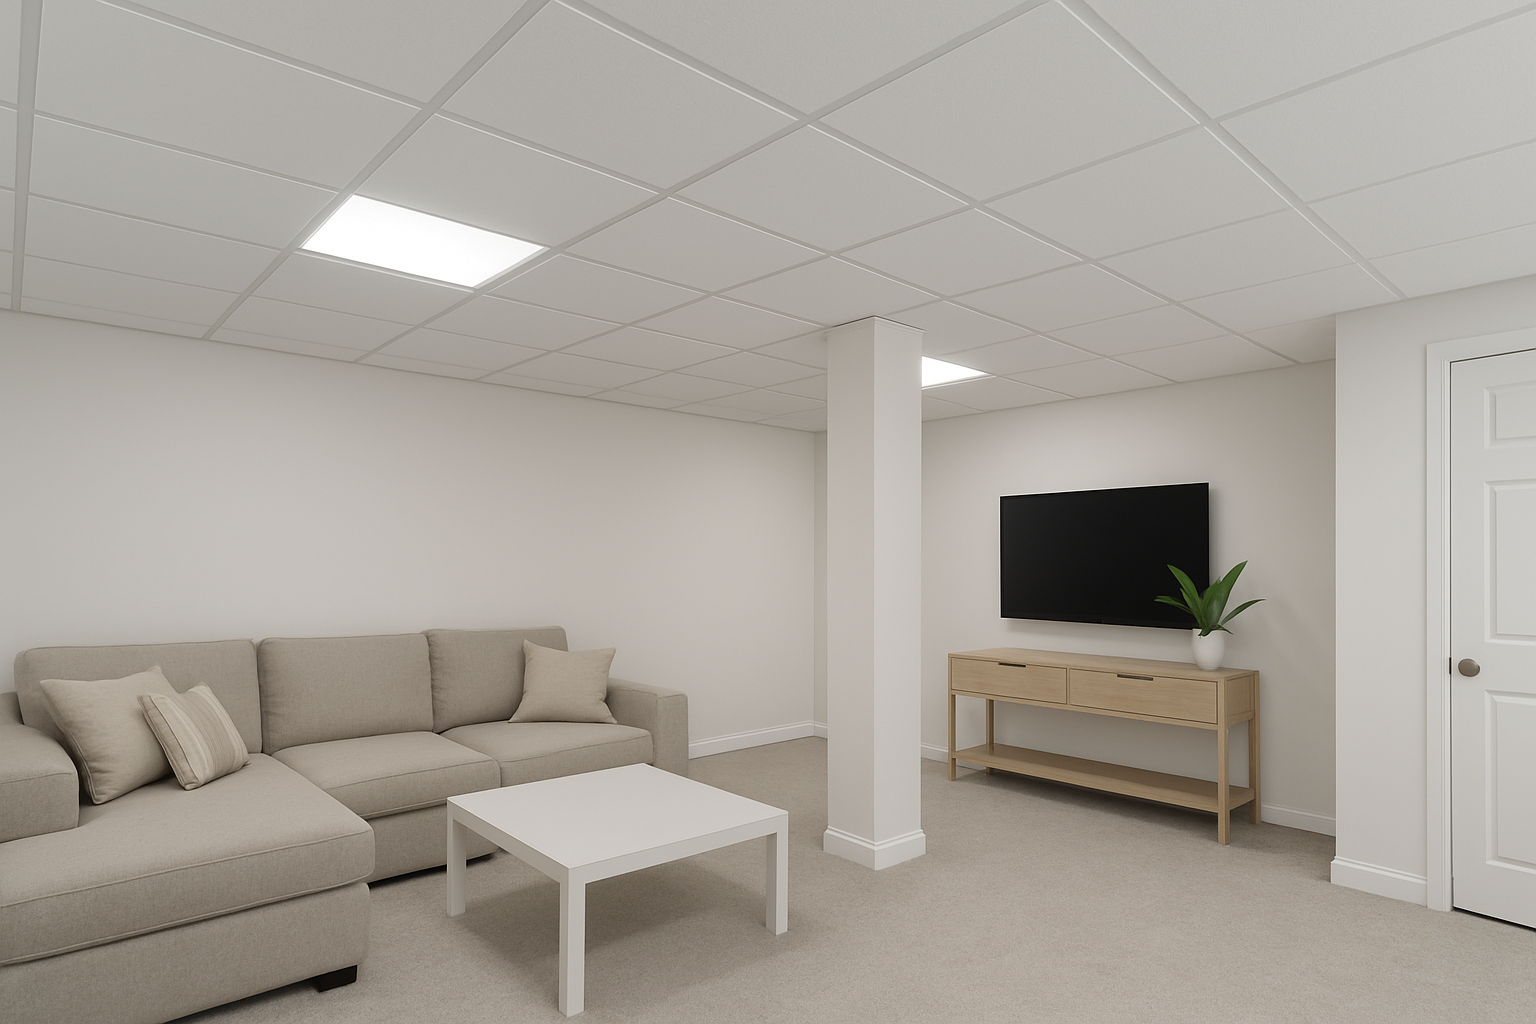
4. Drop Ceiling (Suspended Grid)
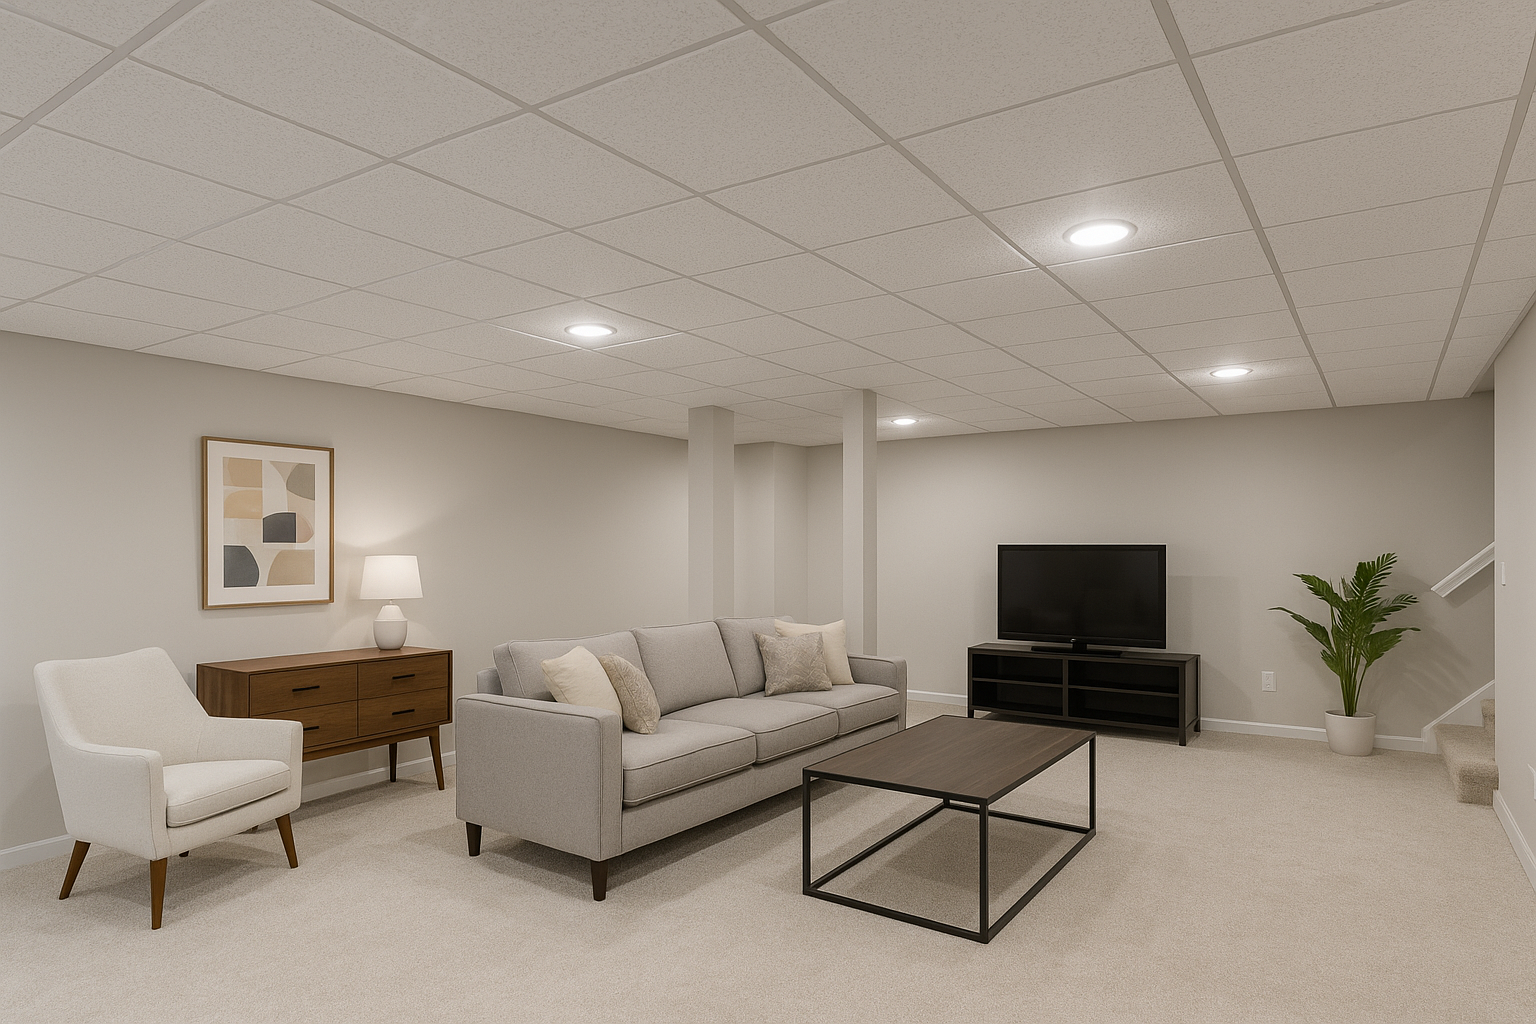
Why it works: A suspended grid ceiling lets you hide pipes and electrical lines while still allowing future access. Modern drop‑in tiles come in textured, smooth or decorative patterns and even faux‑tin designs. You can run wiring above the grid and remove tiles for repairs.
Specs & cost: Standard 2×2 foot or 2×4 foot mineral fiber tiles cost $2–$4 per square foot, while PVC tiles run $3–$10. Grid hardware costs $1–$2 per square foot. Professional installation ranges from $4–$20 per square foot, depending on tile type and labor.
Considerations: Drop ceilings lower the room height by about 2–4 inches. For very low basements, this might be an issue. Choose tiles with higher noise‑reduction coefficients if you need sound absorption.
5. Drywall Ceiling with Recessed Lights
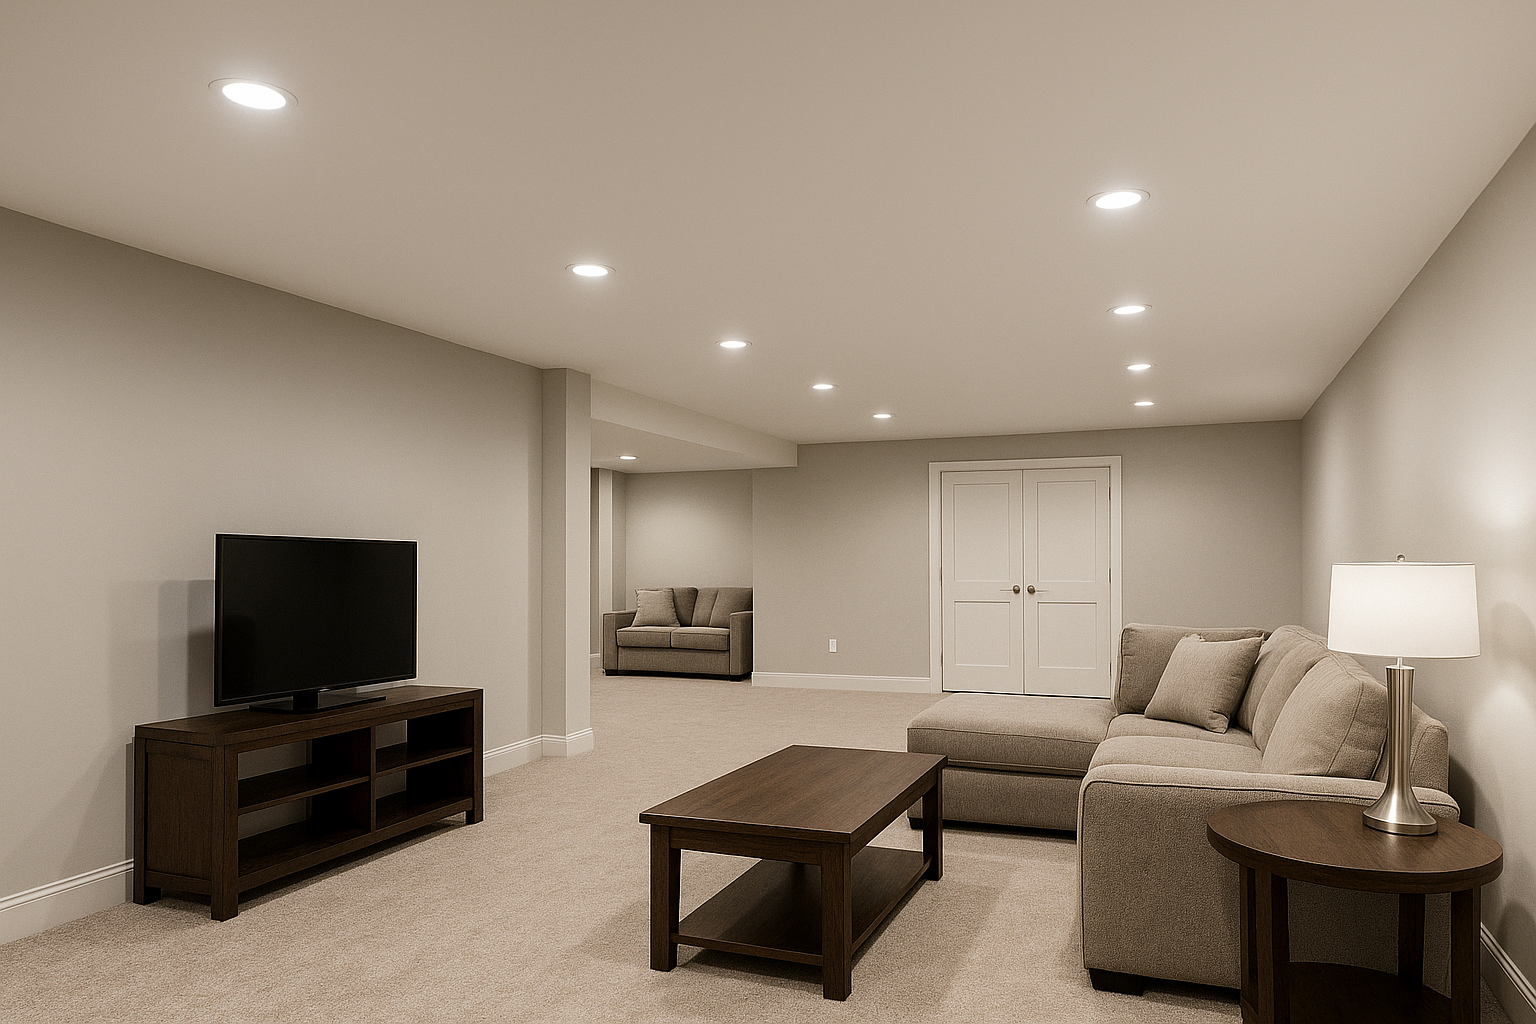
Why it works: Drywall creates a smooth, seamless ceiling that matches the rest of your home. It can be painted to any color and allows you to embed recessed LED lights for a clean look. It also improves fire resistance and sound separation between floors.
Specs & cost: Install ½‑inch drywall sheets perpendicular to joists with screws, then tape and mud joints. Sand smooth, prime and paint. Material costs run around $2–$4 per square foot. Labor for hanging, finishing and painting adds another $1–$3 per square foot.
Considerations: Drywall conceals plumbing and wires. If something needs repair, you must cut and patch. Consider access panels in strategic locations for shutoffs or junction boxes. Drywall ceilings also require more labor than painting exposed joists or installing drop tiles.
6. Coffered or Tray Ceiling (Faux Beams)
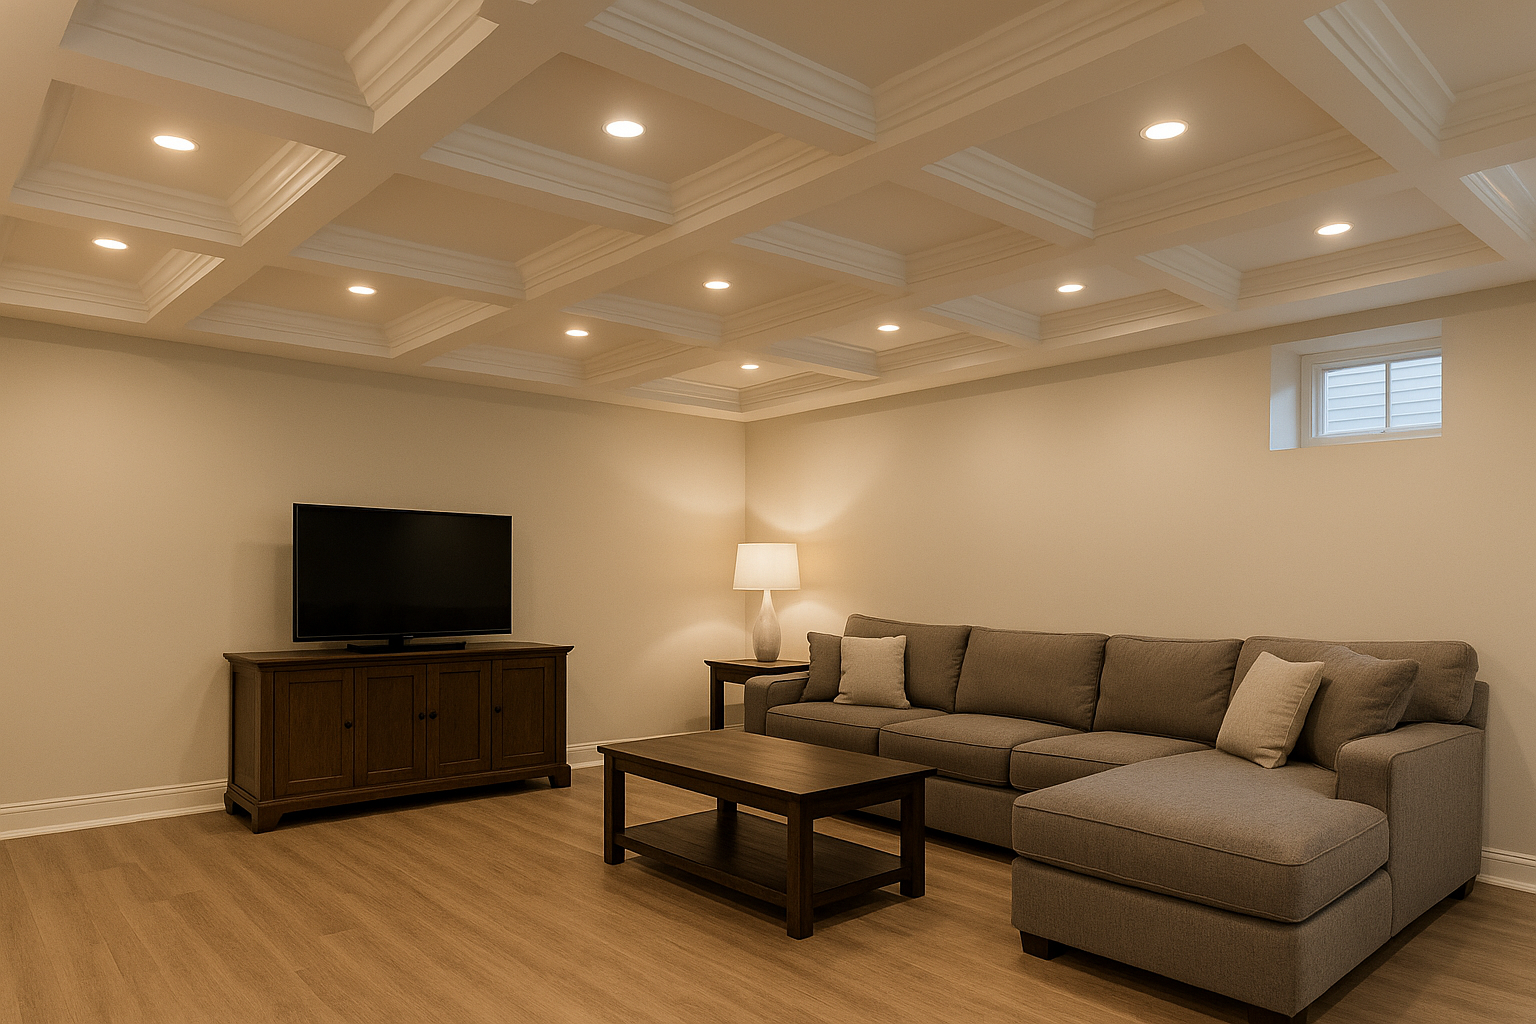
Why it works: Coffered or tray ceilings add architectural interest and depth. Faux beams create a pattern of recessed panels that draw the eye upward. This style works well in larger basements with higher ceilings or open floor plans and can make the space feel custom.
Specs & cost: Build shallow beams using pine or MDF, attach them to the joists or existing drywall, then paint or stain. Costs vary widely—expect $6–$20 per square foot, depending on the complexity and materials. A simpler tray ceiling with cove lighting can be less expensive.
Considerations: Coffered ceilings need more planning for lighting placement. They may not suit low ceilings because the beams reduce headroom. Keep the pattern proportional to the room size—too many small boxes can feel busy; too few can look odd.
7. Tin or Metal Panels
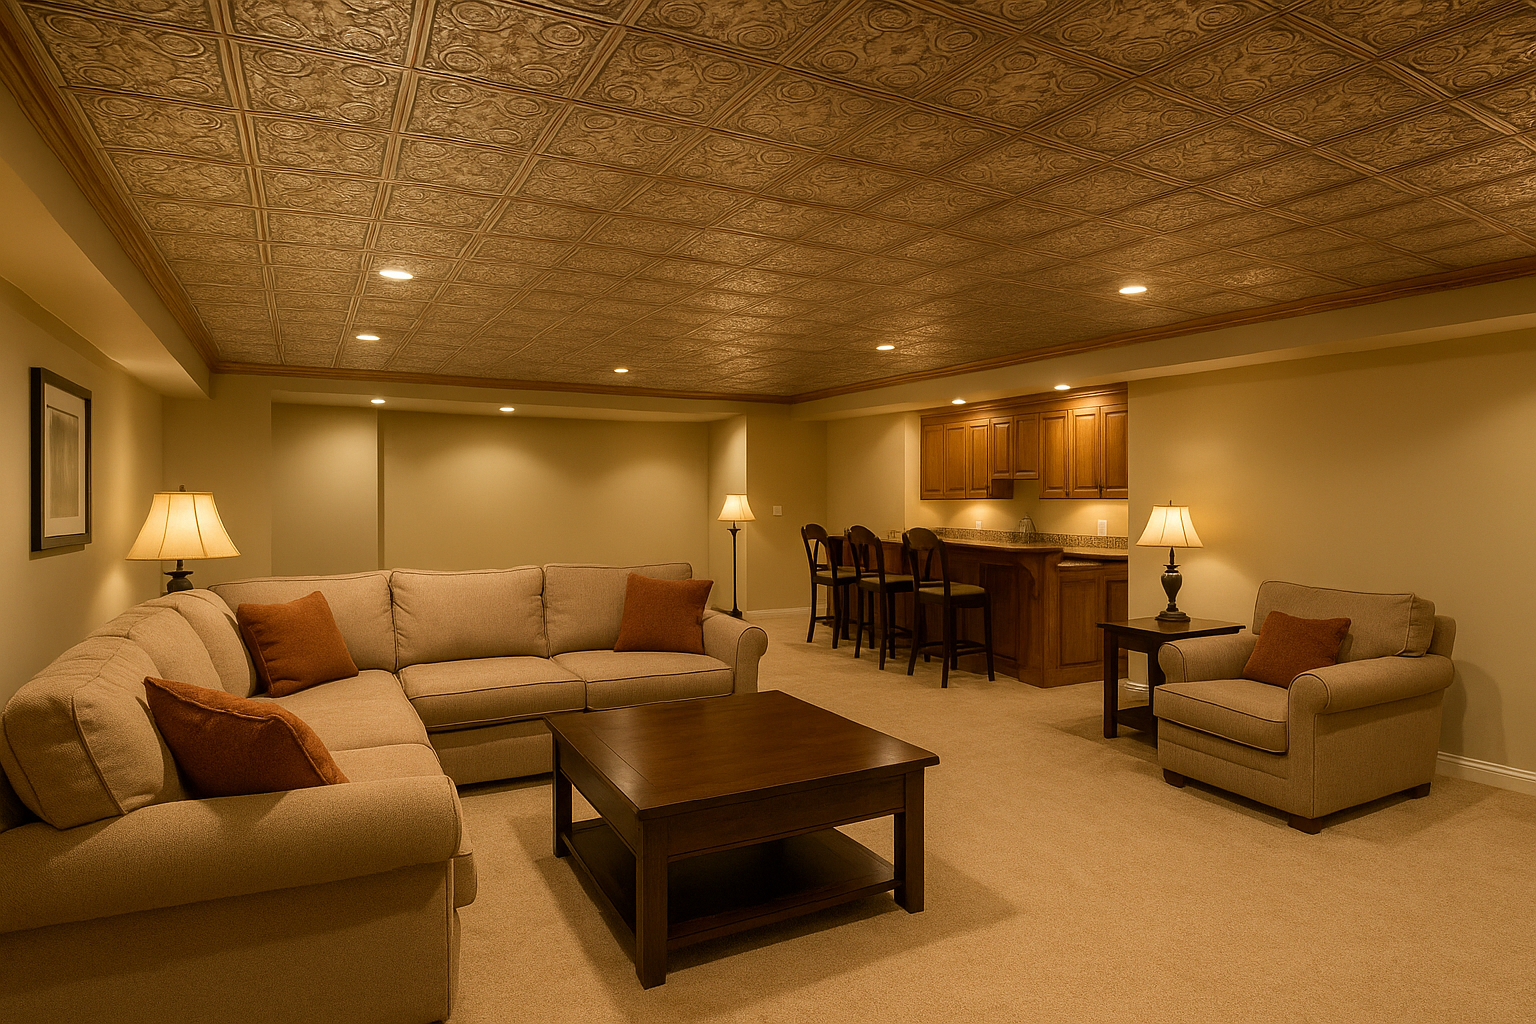
Why it works: Stamped metal tiles give a vintage or industrial feel. Tin or aluminum panels come in ornate Victorian patterns or simple textures. They reflect light and can add a subtle shimmer, elevating a basement bar or billiard room.
Specs & cost: Panels measure 2×2 feet or smaller. Real tin costs $5–$12 per square foot, while aluminum or steel may be less. Install them over plywood backing or drop ceiling grids. Seal or paint to prevent oxidation. Some panels have acoustic backing to reduce noise.
Considerations: Metal can amplify sound if installed without backing. Choose tiles with acoustic liners or add insulation above them. Ensure you use Class‑A fire‑rated materials to meet building codes.
8. PVC or Vinyl Panels (Moisture‑Resistant)
Why it works: PVC planks resist moisture, mold and mildew. They’re ideal for basements in humid climates or homes prone to dampness. Panels are lightweight, easy to clean and often clip together. You can pair them with downlights or fluorescent fixtures.
Specs & cost: Panels come in 8‑ to 16‑inch widths and lengths up to 20 feet. Expect to pay $2–$7 per square foot for materials. Install by screwing furring strips to joists, then snapping panels in place. A drop‑in PVC ceiling is also available for grids. This option is great for small basements.
Considerations: PVC can expand and contract with temperature changes, so leave room for movement. While it’s durable, it lacks the warmth of wood or the sleek look of drywall. Choose solid colors or subtle textures for a cleaner look.
9. Acoustic Tiles or Sound Panels
Why it works: Acoustic tiles absorb sound, making them perfect for home theaters, music studios or playrooms. They reduce echoes and prevent noise from traveling upstairs. Panels can fit into a drop ceiling grid or be glued directly to drywall.
Specs & cost: Mineral fiber or fiberglass tiles run $2–$8 per square foot. For better performance, choose tiles with a Noise Reduction Coefficient (NRC) of 0.75 or higher. Combine ceiling tiles with acoustic wall panels for comprehensive sound dampening.
Considerations: Acoustic tiles are often dark or textured. If you want a lighter color, look for white acoustic tiles with micro‑perforations. You may need to run speaker wires above the ceiling and drop them through the tiles at precise points.
10. Stretch Fabric or Canvas Ceiling

Why it works: A stretch ceiling uses PVC or polyester fabric tensioned across a frame. It hides imperfections, can incorporate hidden lighting or printed graphics, and creates a perfectly smooth surface. It reflects light softly, adding an upscale touch.
Specs & cost: Professional installers mount tracks around the room perimeter, heat the fabric to stretch it into place, and trim edges. Costs range from $7–$30 per square foot. Choose matte, satin or glossy finishes, or print a mural for a unique look.
Considerations: Repairs require a professional and may involve replacing the fabric. Stretch ceilings can’t handle heavy fixtures; support for lights must be integrated in the framework. They can trap moisture if not installed with proper ventilation.
Cost breakdown by ceiling type
Below is a table summarizing estimated costs for a 500‑square‑foot ceiling. Actual prices vary by region, material grade and labor rates.
| Ceiling type | Typical range (materials + labor) | Notes |
|---|---|---|
| Painted exposed joists | $500–$2,000 | Mostly prep and paint; labor‑intensive cleaning |
| Drop ceiling | $2,000–$5,000 | Includes grid and tiles; decorative tiles cost more |
| Drywall | $1,500–$3,500 | Hanging, finishing and painting |
| Wood planks | $1,500–$4,000 | Cost varies by wood species |
| Coffered or tray | $3,000–$10,000 | Faux beams; price rises with complexity |
| Tin or metal panels | $2,000–$6,000 | Includes substrate and tiles |
| PVC panels | $1,800–$4,000 | Moisture-resistant and low maintenance |
| Acoustic tiles | $1,500–$3,500 | Depends on NRC rating |
| Stretch fabric | $3,500–$15,000 | Requires professional installation |
Finishing an entire basement, including floors, walls, ceiling, electrical and plumbing often runs between $40,000 and $100,000 and takes 8–16 weeks. Labor typically represents about half of the total cost. Remember to budget for permits, which may be necessary for structural changes or new mechanical systems.
Common problems and how to avoid them
-
Moisture and mold: Basements are prone to dampness. Before finishing the ceiling, address leaks or condensation with waterproofing, a vapor barrier or a dehumidifier. PVC panels and painted joists cope well with moisture.
-
Low ceiling height: Many basements hover near the 7‑foot code minimum. Avoid drop ceilings or heavy beams in these spaces. Painting exposed joists or installing a stretch fabric ceiling preserves headroom.
-
Access to utilities: Drywall conceals pipes and wires, which can make repairs costly. Choose a drop ceiling, removable planks or access panels if you expect to service plumbing or electrical lines.
-
Noise: Without sound control, footsteps or loud music can carry upstairs. Acoustic tiles and insulation between joists help reduce noise. A combination of wall panels and ceiling tiles works best for home theaters.
-
Code compliance: Finishing a basement often triggers permit requirements for electrical, plumbing, egress windows and insulation. Always check local rules before starting, as failing to do so can lead to fines or issues when selling your home.
Step‑by‑step process for finishing a basement ceiling
-
Assess the space: Measure ceiling height and note obstacles like ductwork or plumbing. Check for moisture issues and plan to mitigate them first.
-
Select a ceiling style: Weigh aesthetics, budget, headroom, sound needs and future access. Choose from the ten options above.
-
Make a budget: Include materials, labor (often 50% of total cost), permit fees, and a contingency for unforeseen issues.
-
Get permits if needed: Basement finishing often requires permits for plumbing, electrical or structural changes. Discuss with your contractor or local building department.
-
Order materials: Long‑lead items like custom wood, specialty tiles or stretch fabric may take weeks. Align deliveries with your schedule.
-
Prep the structure: Fix leaks, insulate rim joists, reroute HVAC or wiring as needed. If painting exposed ceilings, thoroughly clean and prime everything.
-
Install furring strips or grids: For planks, panels or drop ceilings, attach furring strips or grid hardware to the joists. Ensure everything is level.
-
Run electrical and rough‑ins: Add recessed lights, speaker wiring or vent drops before closing up the ceiling. Fire‑rate any penetrations.
-
Apply finish materials: Hang drywall, install planks, place tiles or stretch fabric. Follow manufacturer guidelines for fasteners and spacing.
-
Finish and paint: Tape and mud drywall, stain or paint wood, seal tin or metal panels. Touch up surfaces and install trim.
-
Install fixtures: Mount lighting, speakers, smoke detectors and ventilation grills. Double‑check that all systems work.
-
Clean and inspect: Vacuum dust, wipe down surfaces and look for gaps or misaligned pieces. Fix any issues before furnishing the room.
Materials and design options
-
Wood species: Pine (affordable), cedar (naturally rot‑resistant), oak (premium), reclaimed barn wood (unique character).
-
Tile choices: Mineral fiber, fiberglass, PVC, metal or cork. Each offers different acoustic, fire and moisture properties.
-
Finish options: Paint colors from bright white to deep charcoal; stains for wood; printed patterns for tin or fabric.
-
Lighting: Recessed LEDs, cove lighting, pendant lights or track lighting. Use dimmers to adjust mood.
-
Extras: Sound insulation, hidden speakers, skylights or faux skylights, motorized screens for home theaters.
Questions to ask before hiring a contractor
-
What ceiling options do you recommend for my height and moisture conditions?
-
How will you address moisture and ensure code compliance?
-
Who handles permits, inspections and plans?
-
How will you provide future access to plumbing and wiring?
-
Can you show examples or photos of similar projects?
-
What warranties are offered on materials and labor?
-
What is the estimated timeline and total cost? How are change orders handled?
Conclusion & next steps
The right ceiling can turn your basement into a cozy retreat, a high‑tech theater or a stylish lounge. You’ve seen ten ceiling ideas—exposed beams, wood planks, drop ceilings, drywall, coffered designs, tin panels, PVC planks, acoustic tiles and stretch fabric—along with cost ranges, pros and cons, and practical photos. Consider moisture levels, headroom, access needs and style preferences before deciding. Budget carefully, secure permits and plan for any hidden surprises. Ready to transform your space? Get a free basement ceiling quote and let’s turn your basement into a favorite part of your home.